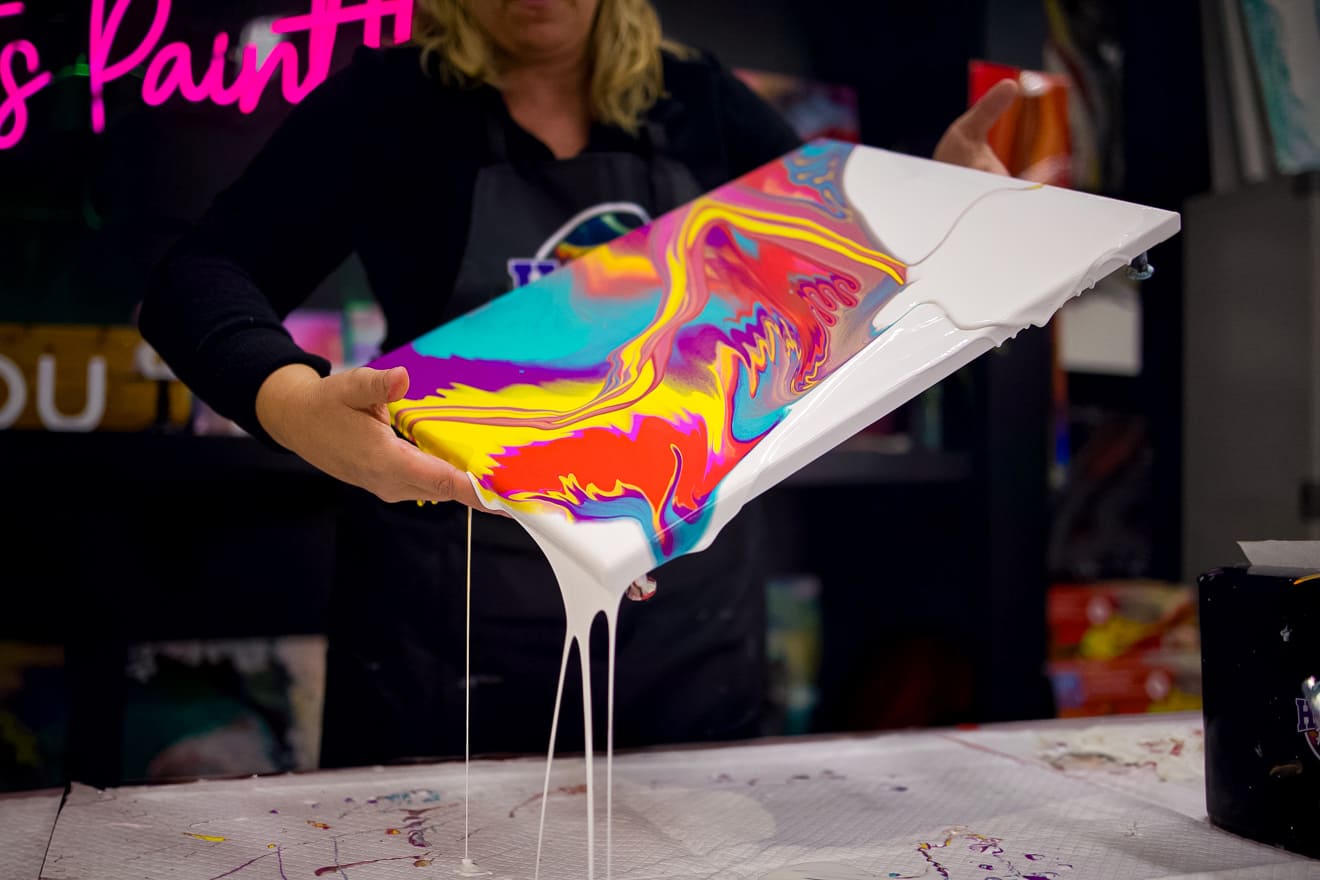
One of the most captivating aspects of fluid art is the appearance of beautiful, organic “cells” that emerge as colors interact and separate on the canvas. These mesmerizing patterns resemble bubbles, coral formations, or microscopic organisms, adding depth and complexity to acrylic pour paintings. Artists often strive to create cells because they bring movement, texture, and visual intrigue to their artwork.
But creating cells isn’t just a matter of luck. Understanding the science behind fluid art and mastering specific techniques can help you consistently produce stunning cell effects. In this guide, we’ll explore the most effective fluid art techniques for creating cells, the materials you’ll need, and expert tips to improve your results.
What Are Cells in Fluid Art?
Cells are circular or irregular patterns that form when layers of paint separate from one another during the pouring process. This separation occurs due to differences in paint density, additives, and surface tension.
When conditions are right, one color pushes through another, creating intricate cellular structures that can range from small and delicate to large and dramatic. The size, shape, and abundance of cells depend on the pouring technique, paint consistency, and additives used.
The Science Behind Cell Formation
Understanding why cells form can help you achieve better results.
Cells are primarily created by:
- Differences in paint density
- Surface tension variations
- Chemical reactions between additives
- Heat application during the pouring process
For example, silicone oil creates areas where paint repels itself, causing lower-density paints to rise through heavier layers and form cells.
The interaction between pigments also plays a role. Some pigments are naturally heavier than others, contributing to unique cellular effects.
Essential Materials for Creating Cells
Before exploring techniques, gather the following supplies:
Acrylic Paints
Choose high-quality acrylic paints with rich pigmentation. Different brands and pigments produce varying cell effects.
Pouring Medium
A pouring medium improves paint flow while maintaining color integrity.
Popular options include:
- Floetrol
- Liquitex Pouring Medium
- Golden GAC 800
- Homemade pouring mixtures
Silicone Oil
Silicone is one of the most common additives for generating cells.
Types include:
- Treadmill silicone
- Dimethicone
- Hair serum containing silicone
Torch or Heat Gun
Applying heat helps activate silicone and encourages cell development.
Canvas or Pouring Surface
Use stretched canvases, wood panels, or other sealed surfaces suitable for acrylic pouring.
Best Fluid Art Techniques for Stunning Cell Effects
1. Dirty Pour Technique
The dirty pour is one of the easiest and most effective methods for creating cells.
How It Works
Multiple paint colors are layered into a single cup before being poured onto the canvas.
Steps
- Mix each paint color separately.
- Add a few drops of silicone to selected colors.
- Layer paints carefully into one cup.
- Pour onto the canvas.
- Tilt the canvas to spread the paint.
- Use a torch to activate cells.
Why It Creates Cells
As the layered colors interact and move across the canvas, differences in density and silicone content encourage cellular formations.
2. Flip Cup Technique
The flip cup method is a favorite among fluid artists because it consistently produces dramatic cells.
Steps
- Layer paints in a cup.
- Place the canvas over the cup.
- Flip both together.
- Lift the cup slowly.
- Allow paint to spread naturally.
- Torch the surface.
Benefits
- Creates large, vibrant cells
- Produces striking color interactions
- Offers excellent control over composition
3. Swipe Technique
The swipe technique is renowned for generating intricate lacing and cells.
Steps
- Pour colors onto the canvas.
- Apply a contrasting swipe color across one edge.
- Use a palette knife, plastic sheet, or paper towel to drag the swipe color across the surface.
- Torch lightly.
Why It Works
The swipe layer creates friction and movement between paint layers, causing lower layers to rise and form cells.
Best For
- Detailed cellular patterns
- Delicate lace effects
- Ocean-inspired artwork
4. Dutch Pour Technique
The Dutch pour uses airflow rather than tilting to move paint.
Steps
- Apply paint puddles to the canvas.
- Add a base coat.
- Blow paint outward using a straw, blower, or airbrush.
- Torch lightly if desired.
Cell Effects
While not primarily a cell-producing technique, adding silicone and heat can create beautiful cellular details within flowing designs.
Also Read : Painting Birthday Party Ideas That Double as Party Favors
5. Ring Pour Technique
The ring pour creates concentric circles and unique cell structures.
Steps
- Layer paints in a cup.
- Pour slowly in circular motions.
- Build rings from the center outward.
- Tilt gently if needed.
Results
As rings stretch and interact, cells emerge naturally between color layers.
6. Balloon Smash Technique
This fun and creative technique can produce highly distinctive cells.
Steps
- Pour paint puddles onto the canvas.
- Press an inflated balloon lightly into the paint.
- Lift carefully.
- Repeat across the surface.
Benefits
- Creates flower-like patterns
- Generates unique cellular textures
- Excellent for abstract floral art
Tips for Producing More Cells
Use the Right Amount of Silicone
Too little silicone may create few cells, while too much can make the painting muddy.
A good starting point:
- 2–4 drops per ounce of paint
Experiment With Paint Density
Heavy pigments such as titanium white often create stronger cells because of their density.
Torch Carefully
Overheating can damage paint layers.
Best practice:
- Move the torch continuously
- Keep it several inches above the surface
- Use short passes
Perfect Your Paint Consistency
Paint should flow smoothly without being too thin or too thick.
Many artists compare ideal consistency to warm honey or melted ice cream.
Layer Colors Strategically
The order of colors affects cell formation. Experiment with different combinations to discover which produce the most dramatic results.
Common Mistakes to Avoid
Overusing Silicone
Excessive silicone can cause:
- Muddy colors
- Surface defects
- Difficulty varnishing
Incorrect Paint Thickness
Paint that is too thick restricts movement, while paint that is too thin may lose structure.
Excessive Torching
Too much heat can:
- Burn paint
- Create cracks
- Distort cells
Poor Color Choices
Colors that blend into brown or gray can diminish the visual impact of cells.
How to Preserve Cell Effects
Once your artwork is dry:
- Remove silicone residue using mild soap and water.
- Allow the painting to cure completely.
- Apply a protective varnish.
Varnishing enhances color vibrancy and protects delicate cell structures from dust and UV damage.
Final Thoughts
Cell effects are one of the most exciting and sought-after features in fluid art. Whether you’re using a dirty pour, flip cup, swipe, Dutch pour, ring pour, or balloon smash technique, understanding the factors that influence cell formation can dramatically improve your results.
The beauty of fluid art lies in experimentation. Every paint mixture, color combination, and pouring method creates unique outcomes. By practicing these techniques and refining your approach, you’ll soon be producing stunning cell effects that transform simple pours into breathtaking works of art.
So gather your paints, prepare your canvas, and start exploring the endless possibilities of fluid art cells. Every pour offers a new opportunity to create something truly extraordinary.
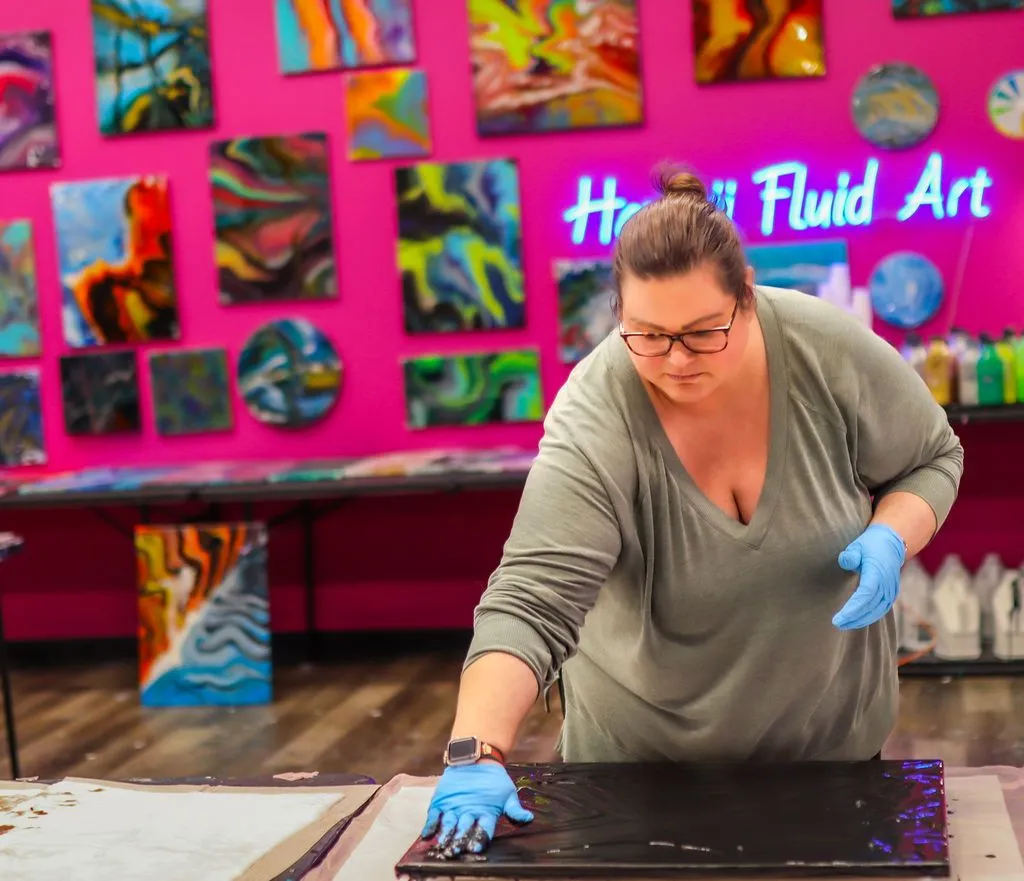
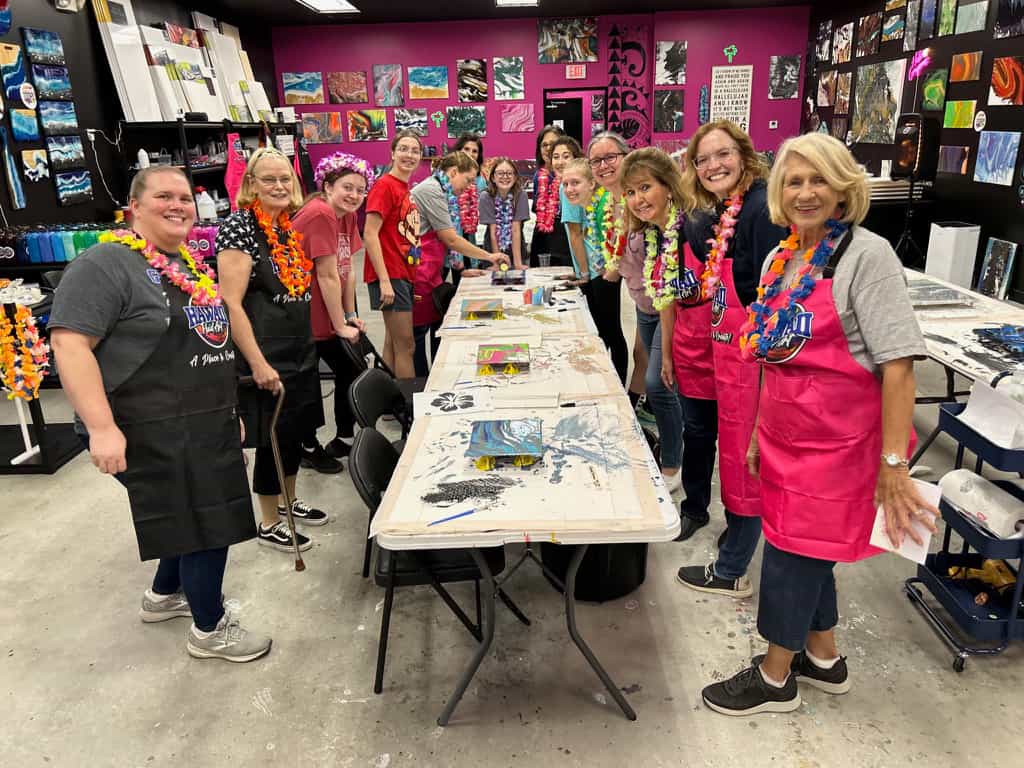
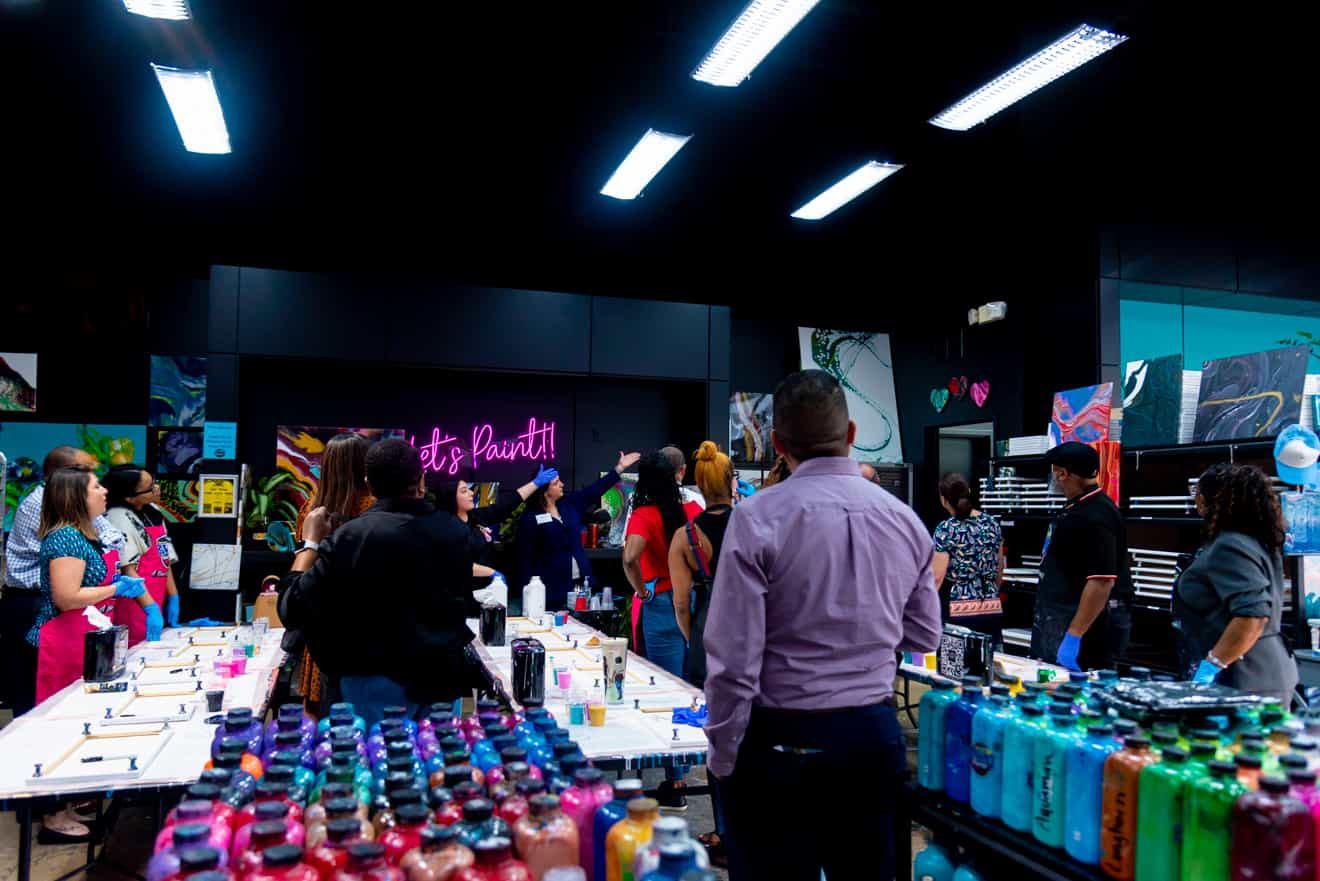
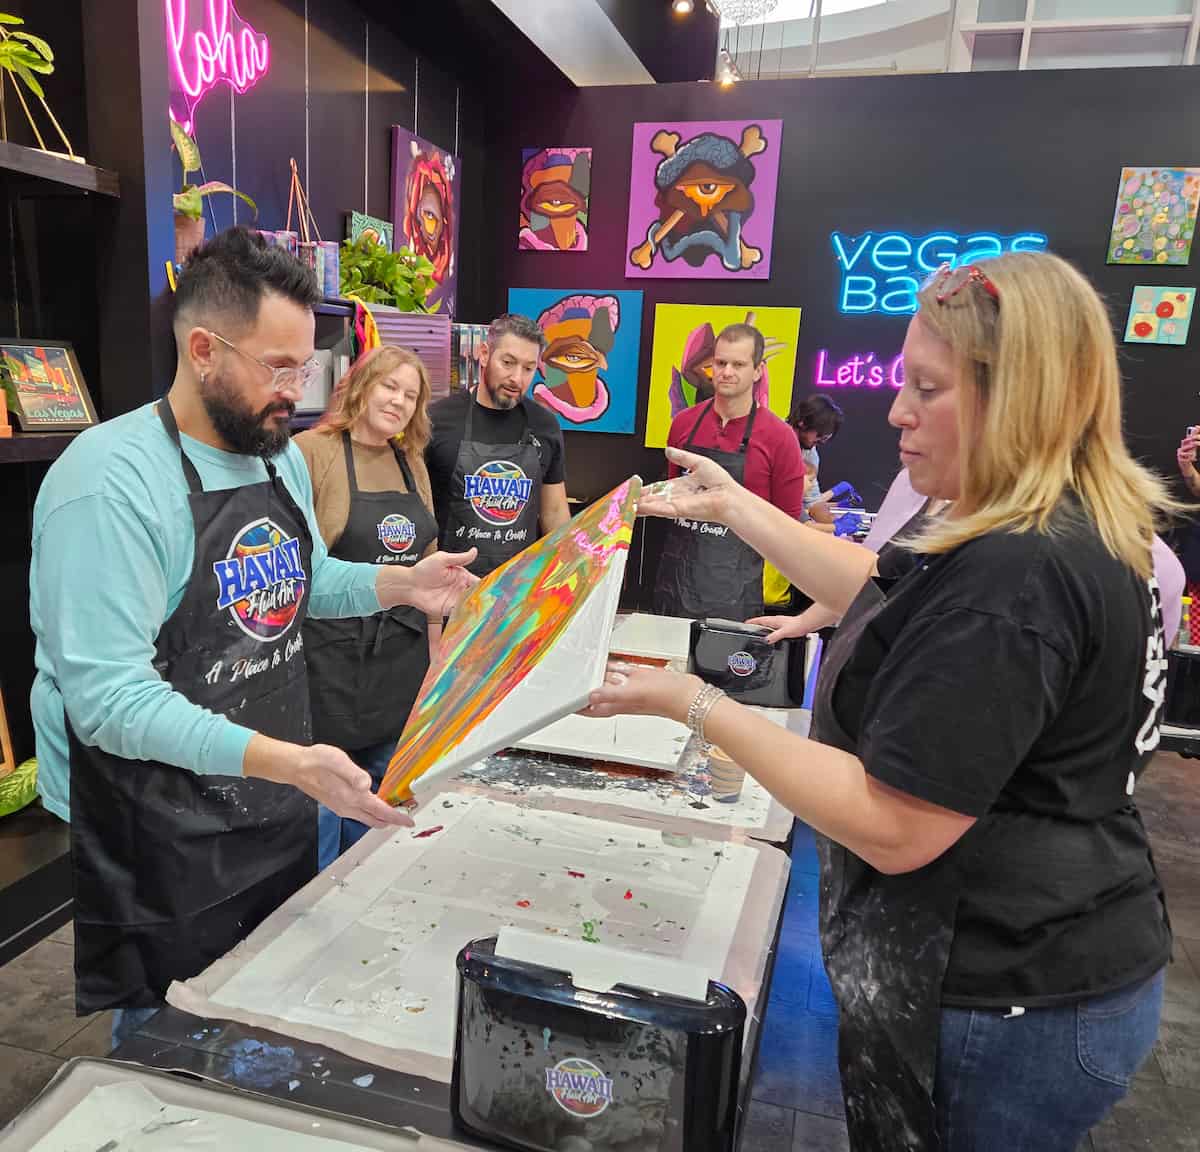
Discover the Art of Fluid Creativity with Hawaii Fluid Art
Ready to transform your creativity into stunning masterpieces? At Hawaii Fluid Art, we make the exciting world of fluid art accessible to artists of all skill levels. Whether you’re a beginner eager to learn acrylic pouring techniques or an experienced artist looking to perfect breathtaking cell effects, our expert-led workshops and creative experiences provide the guidance and inspiration you need.
From mesmerizing dirty pours and swipe techniques to advanced cell-creation methods, Hawaii Fluid Art offers a welcoming environment where creativity flows freely. Explore new artistic possibilities, experiment with vibrant colors, and create one-of-a-kind artwork you’ll be proud to display.
Join Hawaii Fluid Art today and experience the magic of fluid art firsthand where every pour tells a unique story and every canvas becomes a masterpiece.
FAQs
Q1. What causes cells to form in fluid art?
Cells form when paints with different densities interact. Additives like silicone oil and heat create surface tension differences, allowing colors to separate and rise through layers, producing unique cellular patterns.
Q2. Do I need silicone oil to create cells in fluid art?
Silicone oil is not required, but it greatly improves cell formation. It helps paints repel each other, creating larger, clearer, and more dramatic cells that enhance the overall visual appeal.
Q3. Which fluid art technique creates the most cells?
The flip cup and swipe techniques are among the best for producing cells. These methods encourage strong color interactions, paint movement, and layering effects that generate abundant, eye-catching cellular patterns.
Q4. Why aren’t cells appearing in my acrylic pour?
Cells may not appear due to improper paint consistency, insufficient silicone, incorrect color density combinations, or inadequate torching. Adjusting these factors can significantly improve cell development and overall results.
Q5. Can beginners create stunning cell effects in fluid art?
Absolutely. Beginners can create impressive cell effects by using quality materials, following proven pouring techniques, maintaining proper paint consistency, and experimenting with different color combinations and additives.