Glass painting is a timeless and elegant art form that allows you to transform plain glass surfaces into eye-catching decorative pieces. From colorful windows that glow in sunlight to beautifully painted bottles used as home décor, this craft has gained huge popularity among DIY enthusiasts and artists alike.
If you’ve ever wondered how to make glass painting at home, you’re in the right place. This detailed guide is designed for beginners as well as hobbyists who want to improve their skills. You’ll learn everything from choosing the right materials to mastering techniques for different surfaces like windows, bottles, jars, and mirrors.
Whether you want to decorate your home, create handmade gifts, or even start a small art business, glass painting is a creative and rewarding skill worth learning.
What is Glass Painting?
Glass painting is the technique of applying special paints on glass surfaces to create decorative designs. Unlike traditional painting, glass painting often uses translucent colors that allow light to pass through, creating a vibrant and luminous effect.
There are several styles of glass painting, including:
- Stained Glass Effect Painting: Mimics traditional stained glass seen in churches and vintage windows
- Reverse Glass Painting: Painted on the backside of glass and viewed from the front
- Frosted Glass Painting: Creates a matte, etched look for modern designs
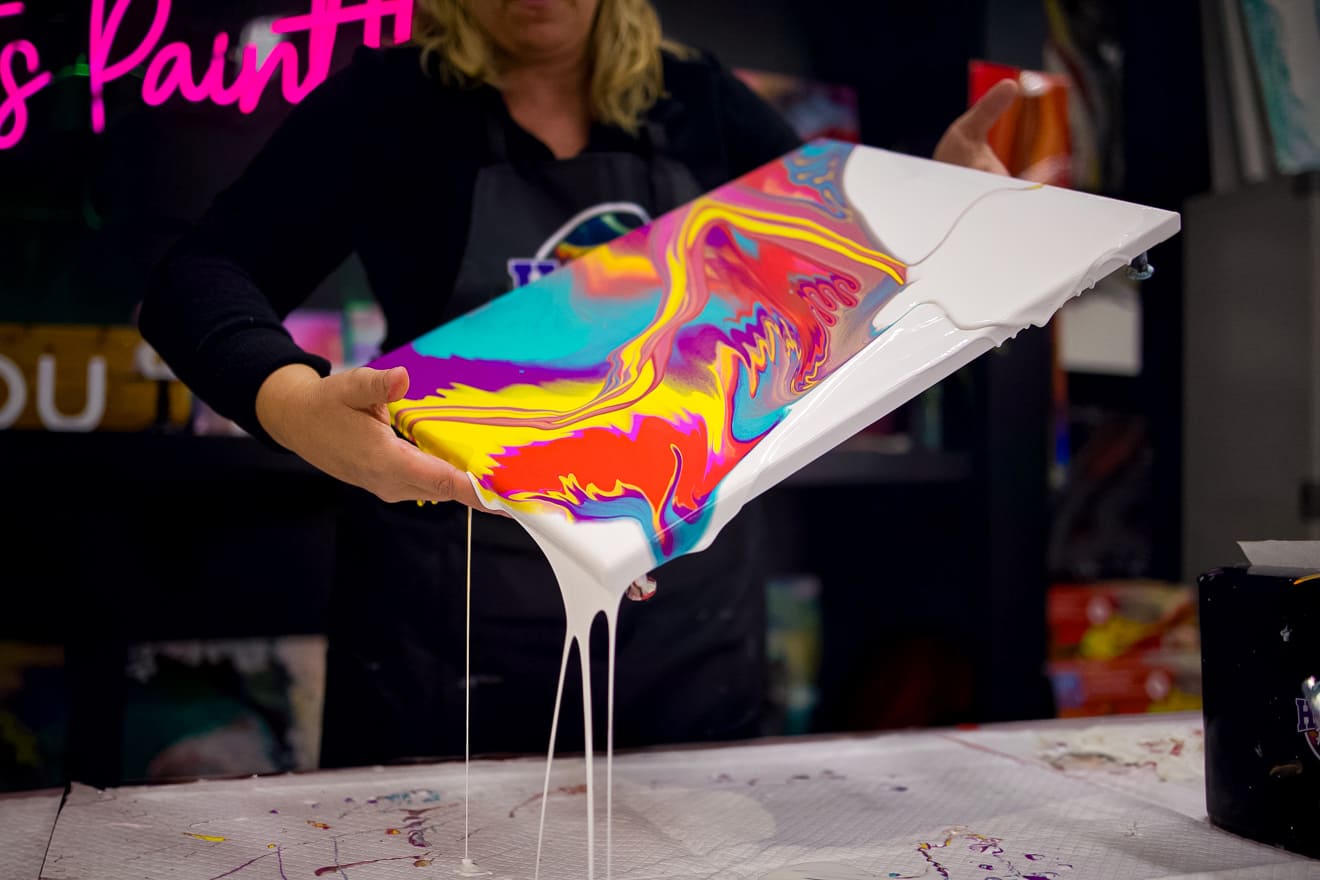
- Textured Glass Art: Uses different tools and mediums for raised or 3D effects
This art form is widely used in interior decoration, festive décor, personalized gifts, and even commercial design projects.
Tools & Materials You’ll Need
To get started with DIY glass painting, having the right tools is essential for achieving clean and professional results.
Basic Materials:
Glass Paints:
- Water-based paints (easy to use, beginner-friendly)
- Solvent-based paints (more durable and vibrant)
Outliner (Leading): Used to create borders and define designs
Brushes:
- Fine brushes for detailing
- Flat brushes for filling colors
Glass Surface: Windows, bottles, jars, mirrors, or glass frames
Cleaning Supplies:
- Rubbing alcohol or glass cleaner
- Lint-free cloth or tissue
Optional Tools:
- Stencils or printed designs
- Palette for mixing colors
- Sponges for texture effects
- Toothpicks or pins (for removing air bubbles)
Using quality materials not only improves your results but also increases the longevity of your artwork.
Safety Tips & Preparation
Before starting your glass painting project, proper preparation is crucial for both safety and quality.
- Always clean the glass thoroughly to remove dust, oil, and fingerprints
- Work in a well-ventilated area, especially when using solvent-based paints
- Wear gloves if you have sensitive skin
- Keep sharp edges of glass in mind to avoid cuts
- Protect your workspace with newspaper or plastic sheets
Taking these precautions ensures a smooth and safe painting experience.
Step-by-Step: How to Make Glass Painting
Step 1: Choose Your Design
Start by selecting a simple design if you’re a beginner. Popular choices include flowers, mandalas, geometric patterns, or abstract shapes.
You can either draw directly on the glass or place a printed design underneath for tracing.
Step 2: Prepare the Glass Surface
Clean the glass using alcohol or glass cleaner and let it dry completely. This step is essential for proper paint adhesion and avoiding smudges.
Step 3: Outline the Design
Use an outliner to trace your design carefully.
- Hold the tube steadily for smooth lines
- Avoid breaks in the outline to prevent color leakage
- Let the outline dry for at least 6–8 hours (or as recommended)
Step 4: Fill with Colors
Now comes the most creative part coloring your design.
- Apply paint gently within the outlines
- Do not overfill to avoid uneven texture
- Use a toothpick to spread paint evenly and remove bubbles
- Blend colors while still wet for gradient effects
Step 5: Drying & Finishing
Allow your artwork to dry in a dust-free environment.
- Air dry for 24–48 hours
- Some paints require curing (air cure or oven cure) for durability
Once dried, your glass painting is ready to display!
Also Read : How to Paint Wine Glasses: Ideas for Beginners and DIY Lovers
How to Make Glass Painting on Different Surfaces
A. Glass Painting on Windows
Painting on windows creates a beautiful stained-glass effect when sunlight passes through.
Tips:
- Use transparent or translucent paints
- Choose bold outlines for visibility
- Keep designs simple for a clean look
B. Glass Painting on Bottles
Glass bottles are perfect for creative DIY décor projects.
Ideas:
- Turn bottles into decorative lamps with fairy lights
- Create themed designs for festivals or events
- Use textured paint for a 3D effect
C. Glass Painting on Jars
Painted jars can be both decorative and functional.
Uses:
- Candle holders
- Storage containers
- Gift packaging
Tip: Use non-toxic paints if jars will be used for food storage.
D. Glass Painting on Mirrors
Mirror painting adds elegance to home interiors.
Tips:
- Focus on borders or corners
- Avoid covering the reflective surface
- Use metallic colors for a premium look
Easy Glass Painting Ideas for Beginners
If you’re new to this art, try these beginner-friendly ideas:
- Floral patterns and nature-inspired designs
- Mandala art for symmetry practice
- Abstract color blends
- Festival-themed designs (Diwali diyas, Christmas ornaments)
- Personalized name art on bottles or jars
These ideas help you build confidence while improving your technique.
Common Mistakes to Avoid
Avoiding these mistakes can significantly improve your results:
- Not cleaning the glass properly before painting
- Using too much paint, causing uneven surfaces
- Rushing the drying process
- Creating broken or uneven outlines
- Mixing incompatible paint types
Learning from these common errors will save time and materials.
Pro Tips for Professional Results
To take your glass painting skills to the next level:
- Work in thin layers for better control
- Use natural light to check color transparency
- Practice brush control on scrap glass
- Experiment with color combinations
- Keep your tools clean to maintain precision
Consistency and practice are key to mastering this art form.
Also Read : How to Paint on Wine Glasses with Acrylics Step by Step
Maintenance & Care Tips
To ensure your glass painting lasts long:
- Clean gently with a soft, damp cloth
- Avoid harsh chemicals or scrubbing
- Keep away from extreme heat unless sealed
- Apply a sealant for added durability (if required)
Proper care keeps your artwork vibrant and long-lasting.
Conclusion
Now that you know how to make glass painting, you can start creating beautiful artwork on windows, bottles, jars, and more. This creative hobby not only enhances your artistic skills but also adds a personal touch to your home décor.
Start with simple designs, practice regularly, and gradually experiment with advanced techniques. With patience and creativity, you can turn ordinary glass into stunning works of art.
Bring Your Creativity to Life
Take your artistic journey a step further with Hawaii Fluid Art, your go-to destination for premium art supplies, creative inspiration, and everything you need to explore the world of fluid and glass art like a pro.