Painting on wine glasses with acrylics is one of the most creative and rewarding DIY crafts you can try. Whether you’re making personalized gifts, wedding party glasses, holiday decor, or starting a small handmade business, glass painting allows you to transform ordinary wine glasses into stunning custom pieces.
The best part? You don’t need to be a professional artist to get beautiful results.
In this complete guide, you’ll learn step-by-step how to paint on wine glasses with acrylic paint, how to seal your design properly, what mistakes to avoid, and how to make your artwork long-lasting.
Why Use Acrylic Paint on Wine Glasses?
Acrylic paint is popular for glass painting because:
- It’s affordable
- It dries quickly
- It’s easy to layer
- It’s beginner-friendly
- It offers vibrant color options
For best results, choose acrylic paints labeled:
- Multi-surface
- Enamel acrylic
- Glass paint
These adhere better to slick glass surfaces and are more durable after curing.
Supplies You’ll Need
Before starting, gather everything to make the process smooth and stress-free.
Basic Materials:
- Clear wine glasses (stemmed or stemless)
- Acrylic enamel or multi-surface paint
- Small detail brushes
- Flat shader brush
- Cotton pads or lint-free cloth
- Rubbing alcohol (isopropyl alcohol)
- Painter’s tape (optional)
- Palette or disposable plate
- Toothpicks or dotting tools
- Paper towels
Optional but Helpful:
- Stencils
- Sponge dabbers
- Metallic or glitter acrylic paint
- Sealant spray (if not heat-setting)
Step 1: Clean and Prepare the Glass (Critical Step)
Glass is naturally smooth and non-porous, so proper cleaning ensures the paint sticks.
- Wash the wine glass with warm water and mild dish soap.
- Dry completely with a lint-free cloth.
- Wipe the surface with rubbing alcohol.
- Let it air dry.
- Avoid touching the area you plan to paint.
Skipping this step is one of the main reasons paint peels later.
Step 2: Plan Your Design Before Painting
If you’re a beginner, don’t overcomplicate your first project.
Easy Design Ideas:
- Polka dots
- Simple flowers
- Leaves and vines
- Names or initials
- Seasonal themes (Christmas, Halloween, Valentine’s Day)
- Abstract color splashes
- Minimal gold rim accents
You can:
- Print a template and tape it inside the glass
- Use painter’s tape for clean lines
- Sketch lightly with a washable marker
Note : Always leave about 1 inch below the rim unpainted for safe drinking.
Read More Blog : How Does Corporate Painting Help with Team Building?
Step 3: Apply the First Layer of Paint
When painting on glass, thin layers are key.
Tips for Smooth Application:
- Do not overload your brush
- Use soft dabbing motions
- Apply thin coats
- Allow 15–30 minutes drying between layers
Most designs require 2–3 thin coats for solid coverage.
If streaks appear, don’t panic — additional layers usually fix it.
Step 4: Add Details and Texture
Once your base layers dry, add detail work.
Use:
- Fine liner brush for outlines
- Toothpick for tiny dots
- Sponge for texture effects
- Metallic paint for highlights
Creative techniques:
- Gradient blending
- Ombre fading
- Layered florals
- Dot mandala patterns
- Frosted glass effect using light white dabbing
Take your time — detail work makes your glass look professional.
Step 5: Let the Paint Cure Properly
Curing is what makes your design permanent.
Option 1: Air Cure (Safest)
Let the glass sit untouched for 21 days.
Option 2: Oven Bake (Faster)
- Place glass in a cold oven.
- Set temperature to 325–350°F (check paint label).
- Bake for 30 minutes.
- Turn oven off.
- Let glass cool inside oven completely.
Never place cold glass into a hot oven — it may crack.
Step 6: Sealing for Extra Durability (Optional)
If your paint isn’t dishwasher safe, consider using:
- Clear acrylic sealer spray
- Brush-on glass sealer
Make sure the sealer is compatible with glass surfaces.
How to Wash Painted Wine Glasses
To extend life:
- Hand wash only
- Use mild soap
- Avoid scrubbing painted areas
- Do not soak for long periods
- Avoid dishwasher unless labeled safe
Proper care can make your design last for years.
Beginner Mistakes to Avoid
- Skipping the alcohol cleaning
- Painting thick layers
- Not letting layers dry fully
- Baking at too high temperature
- Painting the rim area
- Using cheap craft paint not meant for glass
Avoiding these mistakes improves both durability and appearance.
Can You Sell Painted Wine Glasses?
Yes! Many crafters turn this into a small business.
Popular selling niches:
- Wedding party glasses
- Custom birthday sets
- Holiday gift sets
- Personalized couple glasses
- Corporate gifting
To sell legally, ensure paints are non-toxic and safe for decorative use.
Read More Blog : Are Fluid Art Classes Loudoun Worth It? Benefits, Skills, and Experience
Creative Project Ideas to Try
- Floral bridal shower glasses
- Holiday snowflake wine glasses
- Tropical beach-themed designs
- Galaxy night sky glasses
- Minimalist gold leaf accent designs
- Name + birth flower combination glasses
The possibilities are endless once you master the basics.
Final Thoughts
Painting wine glasses with acrylics is a relaxing, creative hobby that produces beautiful, personalised results. Whether you’re crafting for fun, gifts, or business, the key is preparation, thin layers, and proper curing.
Start with simple designs, practice regularly, and gradually experiment with more advanced techniques. The more you paint, the more confident you’ll become.
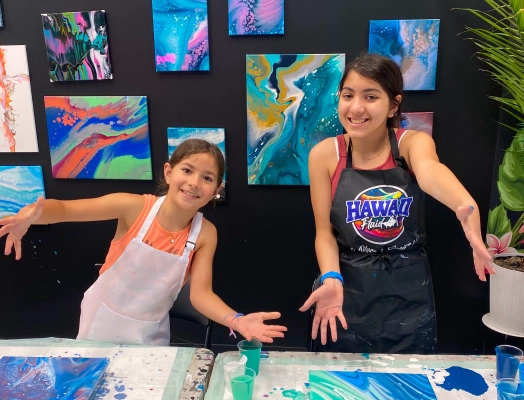
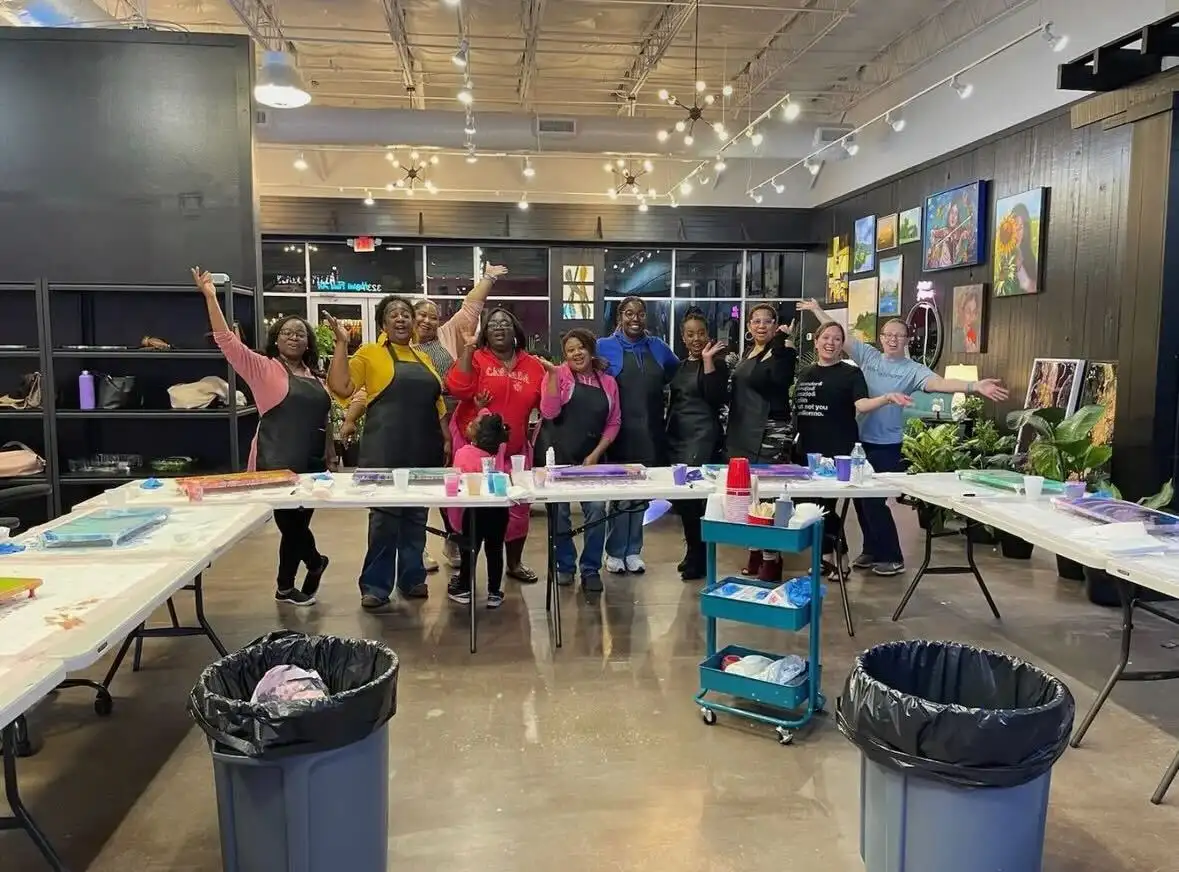
If you’d love guided instruction and professional-quality results, consider taking a glass painting workshop at Hawaii Fluid Art. They offer hands-on glass painting experiences and creative classes designed for beginners and art lovers alike — making it easy to create stunning custom wine glasses in a fun, supportive environment.