Custom resin tumblers have become one of the most exciting DIY crafts in recent years. From glitter designs to personalized name tumblers, epoxy resin allows you to create stunning drinkware that looks professionally made. If you enjoy crafting or want to start a creative side business, learning how to make tumblers with resin can be both fun and profitable.
In this complete guide, you’ll learn everything you need to know—from choosing the right materials to applying resin like a professional. Whether you’re a beginner or an experienced crafter, these step-by-step instructions will help you craft durable, glossy, and eye-catching tumblers.
What Is a Resin Tumbler?
A resin tumbler is a cup, usually stainless steel, that is decorated and coated with a layer of epoxy resin. The resin creates a smooth, glass-like finish that protects the design underneath while adding shine and durability.
Understanding Resin Tumblers
Most resin tumblers are made using insulated stainless steel tumblers because they keep drinks hot or cold and hold resin coatings well. The design is applied using paint, glitter, alcohol inks, or vinyl decals, then sealed with epoxy resin.
This process transforms a plain tumbler into a customized piece of drinkware that can feature:
- Glitter effects
- Marble patterns
- Galaxy designs
- Personalized names or logos
Why Resin Tumblers Are Popular
DIY crafters love making epoxy tumblers because they offer endless customization possibilities. Some of the key benefits include:
- Professional glossy finish
- Durable waterproof coating
- Highly customizable designs
- Great gift ideas
- Potential for selling handmade crafts
With the right tools and technique, anyone can learn how to make epoxy tumblers at home.
Materials Needed to Make Resin Tumblers
Before starting your project, gather all the necessary supplies. Using quality materials will help you achieve better results and prevent mistakes.
Essential Supplies
Here are the basic materials required to make a resin tumbler:
- Stainless steel tumbler
- Epoxy resin (two-part resin and hardener)
- Measuring cups
- Mixing sticks
- Disposable gloves
- Painter’s tape
- Tumbler spinner
A tumbler spinner is especially important because it rotates the tumbler while the resin cures, preventing drips and uneven coating.
Decorative Materials
One of the best parts of learning how to make tumblers with resin is experimenting with different decorative materials. Popular options include:
- Glitter
- Alcohol inks
- Acrylic paint
- Vinyl decals
- Metallic foils
- Mica powders
- Resin pigments
These materials allow you to create unique patterns and effects.
Helpful Tools for Professional Results
Some additional tools can improve your crafting process:
- Heat gun or small torch (to remove bubbles)
- Silicone craft mat
- Sandpaper
- Craft knife
- Digital measuring scale
Having a dedicated workspace for resin crafting will also make the process easier and safer.
Safety Precautions When Working with Resin
Epoxy resin is generally safe when used correctly, but proper safety practices are important.
Ensure Good Ventilation
Always work in a well-ventilated room or workspace. Resin fumes can be irritating if inhaled for long periods.
Open windows or use a fan to improve airflow while working.
Wear Protective Gear
Protective equipment helps prevent skin irritation and accidental exposure.
Recommended safety gear includes:
- Nitrile or latex gloves
- Protective apron or clothing
- Safety glasses if needed
Handle Resin Carefully
Avoid direct skin contact with uncured resin. If resin spills, clean it immediately using rubbing alcohol or disposable wipes.
Keep resin supplies out of reach of children and pets.
Also Read : How to Paint Wine Glasses: Ideas for Beginners and DIY Lovers
Step-by-Step Guide: How to Make Tumblers with Resin
Now let’s go through the full process of creating a beautiful epoxy tumbler.
Step 1: Prepare the Tumbler
Preparation is essential for ensuring that resin sticks properly.
Start by:
- Cleaning the tumbler with rubbing alcohol
- Lightly sanding the surface to improve adhesion
- Wiping away dust
- Taping off the rim and bottom using painter’s tape
This step ensures a smooth and even resin finish.
Step 2: Apply the Base Coat
Most resin tumblers start with a painted base layer. You can apply spray paint or acrylic paint to create the foundation color for your design. Popular base colors include black, white, gold, and pastel shades.
Allow the paint to dry completely before applying resin.
Step 3: Mix the Epoxy Resin
Correct mixing is critical when learning how to make tumblers with resin.
Most epoxy resins require a 1:1 ratio of resin to hardener, but always check the instructions on your product.
Follow these steps:
- Measure equal parts resin and hardener
- Pour into a mixing cup
- Stir slowly for 3–5 minutes
- Scrape the sides of the cup while mixing
Slow mixing helps reduce bubbles.
Step 4: Apply the First Resin Layer
Place the tumbler on your tumbler spinner so it rotates slowly. Pour a small amount of resin onto the tumbler and spread it evenly across the surface using a gloved finger or brush. The spinner will help distribute the resin evenly.
This base resin coat will seal the paint and prepare the surface for decorations.
Step 5: Add Decorative Elements
This is where creativity comes in.
You can add decorations such as:
- Glitter for a sparkling finish
- Alcohol inks for a marble effect
- Vinyl decals for names or quotes
- Metallic flakes for luxury designs
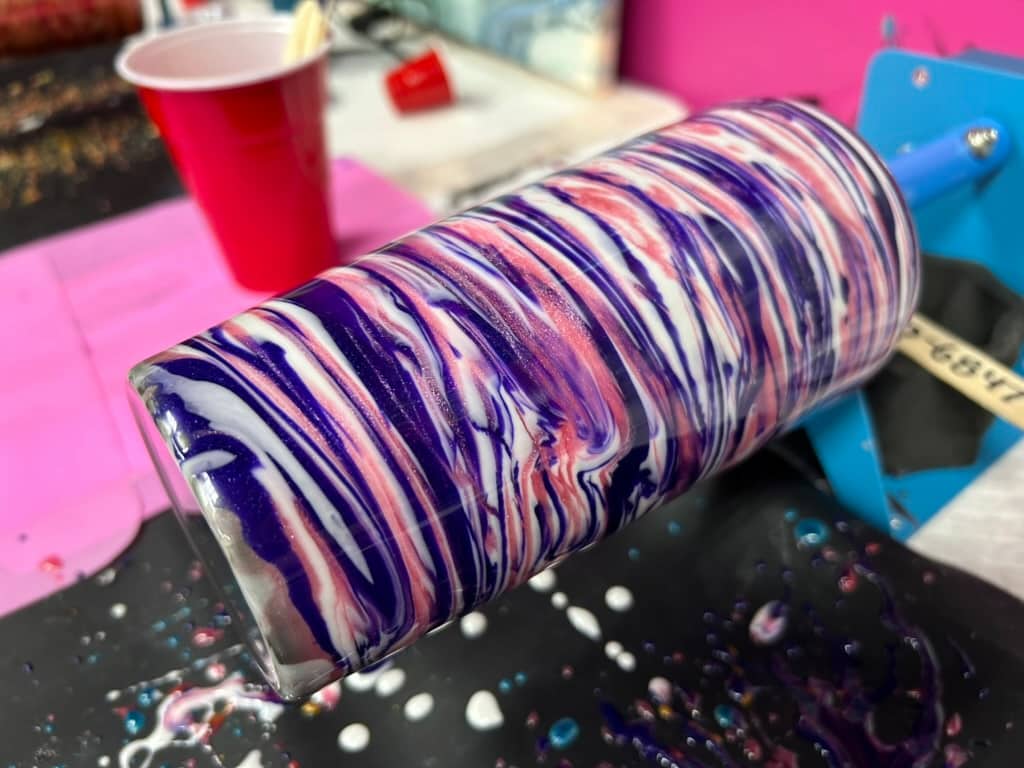
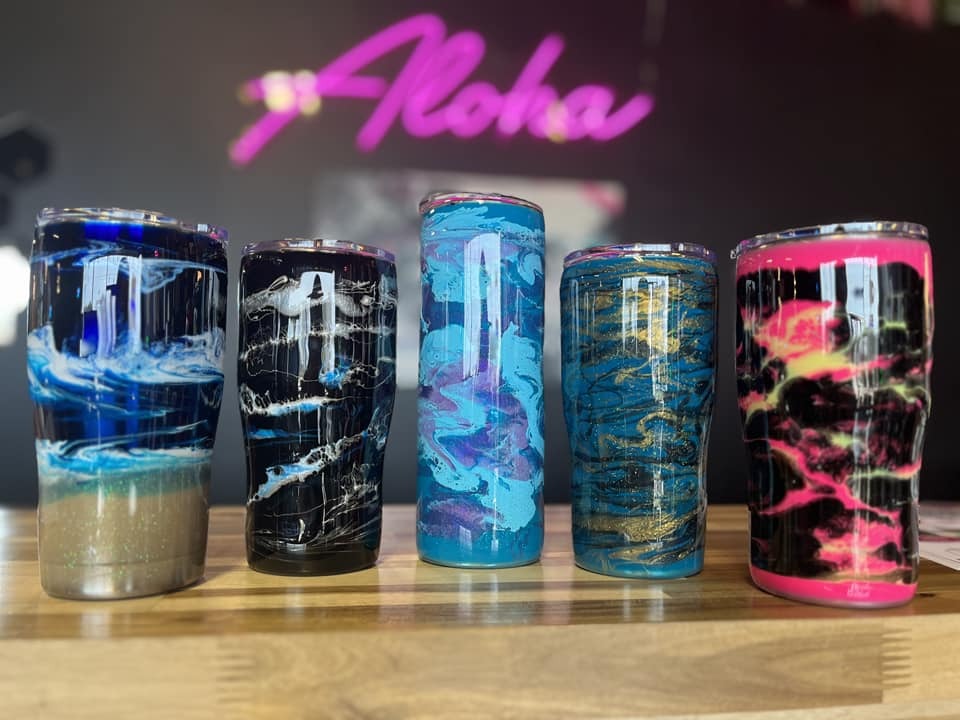
Popular resin tumbler styles include:
- Glitter tumblers
- Marble tumblers
- Galaxy tumblers
- Ombre glitter designs
- Personalized name tumblers
Step 6: Remove Air Bubbles
Air bubbles can appear when mixing or applying resin. Use a heat gun or small torch to gently pass heat over the tumbler surface. The heat will cause bubbles to rise and pop, leaving a smooth finish.
Be careful not to overheat the resin.
Step 7: Allow the Tumbler to Cure
Let the tumbler spin continuously while the resin cures.
Typical curing times include:
- Spinner time: 4–8 hours
- Initial cure: 24 hours
- Full cure: 48–72 hours
Once cured, you can apply additional resin coats if needed for extra shine and durability.
Popular Resin Tumbler Design Ideas
If you’re new to resin crafting, here are some design ideas to try.
Glitter Tumblers
Glitter tumblers are one of the most popular styles. Apply glitter over adhesive or wet resin, then seal with additional resin layers.
You can experiment with:
- Full glitter designs
- Ombre glitter fades
- Chunky glitter mixes
Marble Resin Tumblers
Marble designs use alcohol inks or pigments to create swirling patterns. This style gives tumblers an elegant, artistic appearance.
Galaxy Tumblers
Galaxy tumblers combine dark colors, metallic pigments, and glitter to create a cosmic effect.
Personalized Tumblers
Adding names, quotes, or monograms using vinyl decals makes tumblers perfect for gifts, weddings, or custom orders.
Common Mistakes to Avoid
Beginners often encounter a few challenges when learning how to make epoxy resin tumblers.
Incorrect Resin Measurements
If resin and hardener are not mixed correctly, the tumbler may remain sticky or soft.
Applying Resin Too Thick
Thick layers can cause drips, uneven surfaces, and long curing times.
Thin layers work best.
Poor Surface Preparation
Skipping sanding or cleaning may cause resin to peel later.
Rushing the Cure Time
Resin needs proper time to harden. Handling the tumbler too early can ruin the finish.
Tips for Professional-Looking Tumblers
If you want your tumblers to look store-quality, follow these expert tips:
- Use high-quality epoxy resin
- Apply multiple thin coats instead of one thick coat
- Sand lightly between coats if needed
- Work in a dust-free environment
- Keep the spinner running consistently
These techniques will help you achieve a flawless glass-like finish.
Also Read : How to Paint on Wine Glasses with Acrylics Step by Step
How Long Do Resin Tumblers Last?
Resin tumblers are very durable when properly made. With good care, they can last for many years.
To maintain them:
- Hand wash only
- Avoid dishwashers
- Do not microwave
- Avoid extreme heat exposure
Proper care ensures the resin coating remains shiny and intact.
Can You Sell Resin Tumblers?
Many crafters turn their resin tumbler hobby into a small business.
Handmade tumblers are popular on platforms like:
- Etsy
- Shopify stores
- Craft fairs
- Social media marketplaces
Custom tumblers with names, logos, or themed designs can sell for $25–$60 depending on complexity.
With practice, learning how to make tumblers with resin can become a profitable creative venture.
Final Thoughts
Learning how to make tumblers with resin is an incredibly rewarding craft. With the right materials, patience, and creativity, you can transform ordinary drinkware into beautiful, custom works of art.
From glitter tumblers to personalized gifts, resin crafting opens endless design possibilities. Whether you’re crafting for fun, making gifts, or starting a small handmade business, resin tumblers are a fantastic project to explore.
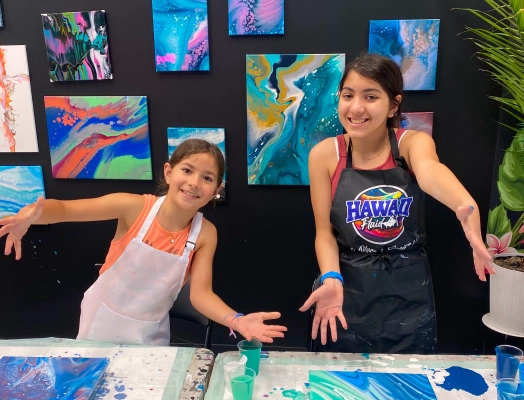
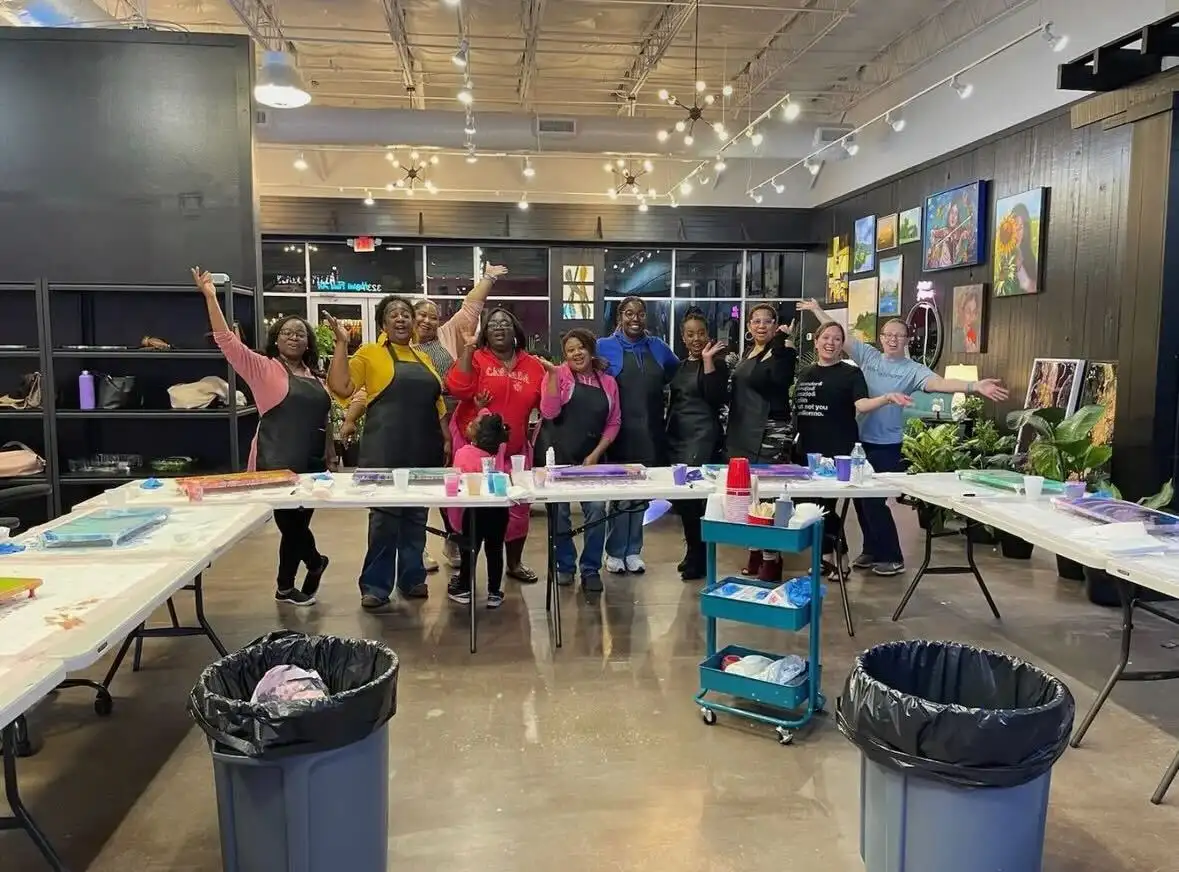
Create Your Own Masterpieces with Hawaii Fluid Art
If you’re inspired to start your resin crafting journey, explore the creative world of Hawaii Fluid Art. Our studios and workshops provide hands-on experiences where artists of all skill levels can experiment with fluid art, resin techniques, and unique crafting styles. Whether you’re a beginner or an experienced creator, Hawaii Fluid Art offers the perfect space to unleash your creativity and bring your artistic ideas to life.