Fluid art, often called acrylic pouring, has taken the art world by storm—and for good reason. It’s colorful, therapeutic, and incredibly beginner-friendly. Unlike traditional painting, you don’t need drawing skills or years of experience to create something beautiful. With just a few materials and the right techniques, you can produce stunning, gallery-worthy abstract art.
If you’ve ever wondered how to do fluid art at home, this complete guide will walk you through everything you need to know—from materials and preparation to step-by-step instructions and 7 easy techniques you must try.
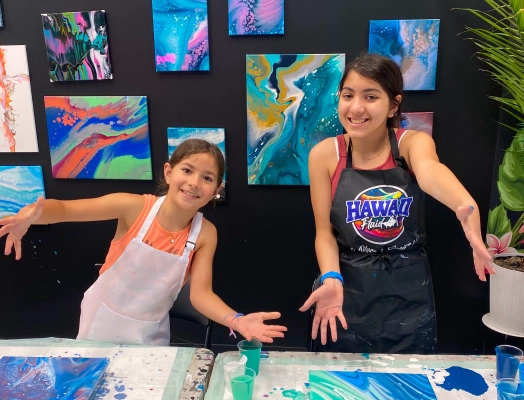
Whether you’re exploring art as a hobby, looking for a creative outlet, or even thinking about starting a small art business, fluid art is a fantastic place to begin.
What Is Fluid Art?
Fluid art is a painting technique where acrylic paints are mixed with a pouring medium to create a smooth, liquid consistency. Instead of using brushes, artists pour, tilt, and manipulate paint on surfaces like canvas, wood, or tiles.
The magic of fluid art lies in its unpredictability. Colors interact, blend, and separate in unique ways, creating mesmerizing patterns, cells, and textures. No two pieces are ever the same, which makes every artwork truly one-of-a-kind.
Fluid art is also known for being:
- Relaxing and stress-relieving
- Beginner-friendly
- Highly experimental and creative
Materials You Need to Get Started
Getting started with fluid art doesn’t require expensive supplies, but using the right materials will significantly improve your results.
Essential Supplies
- Acrylic paints: Choose good-quality, highly pigmented paints
- Pouring medium: Floetrol or a glue + water mixture works well
- Canvas or surface: Pre-primed canvas is ideal for beginners
- Mixing cups: For preparing and layering paint
- Stir sticks: To mix paint smoothly
- Gloves and apron: To stay clean
Optional Supplies
- Silicone oil: Helps create “cells” in your artwork
- Torch or lighter: Removes air bubbles and enhances effects
- Level tool: Ensures even paint distribution
Pro Tip (from experience):
Your paint consistency should feel like warm honey—smooth, flowing, and not too thick. This is one of the most important factors for achieving professional-looking results.
Preparing Your Workspace
Before you start pouring paint, take a few minutes to set up your workspace properly.
- Cover your table with plastic or a drop cloth
- Work in a well-ventilated area
- Elevate your canvas (use cups or stands underneath)
- Make sure your surface is level
- Keep paper towels nearby for quick cleanup
A well-prepared workspace not only keeps things organized but also prevents mistakes that can ruin your artwork.
Also Read : Are Fluid Art Classes Loudoun Worth It? Benefits, Skills, and Experience
Step-by-Step: How to Do Fluid Art
Here’s a simple process you can follow every time:
Step 1: Mix Your Paint
Combine acrylic paint with your pouring medium. Stir slowly to avoid air bubbles.
Step 2: Adjust Consistency
Add small amounts of water if needed. Aim for a smooth, pourable texture.
Step 3: Layer or Prepare Colors
You can either mix colors separately or layer them in one cup (depending on the technique).
Step 4: Pour onto Canvas
Pour the paint directly onto your canvas using your chosen technique.
Step 5: Tilt and Spread
Gently tilt the canvas to allow the paint to flow and cover the surface.
Step 6: Add Effects
Use tools like a torch, straw, or palette knife to enhance patterns.
Step 7: Let It Dry
Leave your artwork in a dust-free area for 24–72 hours.
7 Easy Fluid Art Techniques You Must Try
Dirty Pour Technique
This is one of the most popular techniques for beginners. Multiple paint colors are layered into a single cup and poured all at once.
Why try it: It produces vibrant, abstract designs with minimal effort.
Flip Cup Technique
Place a cup filled with layered paint upside down on the canvas, then lift it to release the paint.
Best for: Bold, dramatic compositions with natural color blending.
Puddle Pour Technique
Pour each color separately onto the canvas, one puddle at a time.
Benefits: Gives you more control over color placement and layering.
Swipe Technique
After pouring paint, use a flat tool (like a card or paper towel) to swipe across the surface.
Result: Beautiful gradients and “cells” appear as colors interact.
Dutch Pour Technique
Use a hairdryer or straw to blow paint across the canvas.
Effect: Creates soft, flowing, almost floral designs with a professional finish.
String Pull Technique
Dip a string in paint and drag it across the canvas.
Outcome: Creates intricate, feather-like or flower patterns.
Balloon Smash Technique
Press a balloon gently onto wet paint and lift it off.
Why it’s fun: Perfect for beginners and kids—easy and highly creative.
Understanding Cells in Fluid Art
Cells are one of the most exciting effects in fluid art. They are small, bubble-like patterns that form when different paint densities interact.
How to Create Cells
- Add a few drops of silicone oil
- Use a torch to activate the cells
- Use paints with different densities
Tip: Don’t overuse silicone—too much can ruin the finish and make sealing difficult later.
Common Mistakes to Avoid
Even though fluid art is beginner-friendly, certain mistakes can affect your results:
- Incorrect paint consistency
- Overmixing colors (creates muddy tones)
- Too much or too little pouring medium
- Not leveling the canvas
- Touching or moving the painting too early
Learning from these mistakes will help you improve quickly.
Also Read : How to Paint Wine Glasses: Ideas for Beginners and DIY Lovers
Pro Tips for Better Results
To take your fluid art to the next level, keep these expert tips in mind:
- Start small and practice regularly
- Use contrasting colors for more impact
- Experiment with different techniques
- Keep notes of your paint ratios
- Allow enough drying time before sealing
Fluid art is as much about experimentation as it is about technique. The more you practice, the better your results will become.
Conclusion
Fluid art is a perfect blend of creativity and relaxation. With the right materials, proper preparation, and these 7 easy techniques, anyone can create stunning artwork at home.
Remember, fluid art is not about perfection—it’s about expression. Every pour is unique, and every mistake is part of the learning process. So don’t hesitate—pick a technique, start experimenting, and enjoy the journey.
Explore Fluid Art with Experts
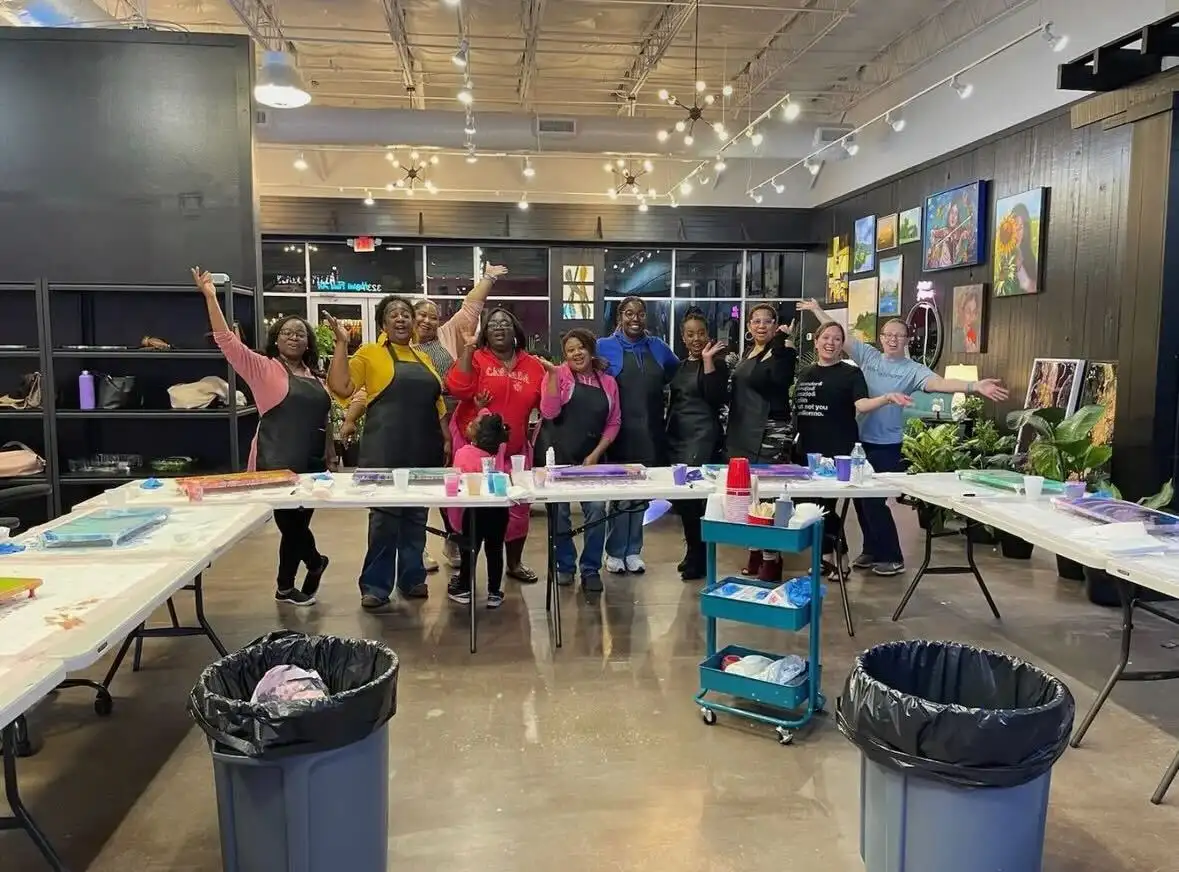
If you’re looking to take your skills further or experience fluid art in a guided, professional setting, consider exploring workshops and creative sessions offered by Hawaii Fluid Art. Their hands-on approach and vibrant art experiences make it easier for beginners and enthusiasts alike to dive deeper into the world of fluid art while having fun.
FAQs
Q1. What is the easiest fluid art technique for beginners?
The easiest fluid art technique for beginners is the dirty pour technique. In this method, you simply layer different paint colors into one cup and pour them onto the canvas in a single motion. It doesn’t require special tools or advanced skills, making it perfect for first-time artists. The natural blending of colors creates beautiful abstract patterns without much effort, helping beginners gain confidence quickly.
Q2. What is the best paint consistency for fluid art?
The ideal paint consistency for fluid art is similar to warm honey or pouring cream. If the paint is too thick, it won’t flow properly across the canvas. If it’s too thin, the colors may blend too much and lose definition. A balanced consistency ensures smooth movement, better color separation, and the formation of desirable effects like cells. Always test your mixture before pouring to get the best results.
Q3. Do I need silicone oil to create cells in fluid art?
No, silicone oil is not mandatory, but it is commonly used to create cells, which are one of the most popular effects in fluid art. Cells form when paints with different densities interact, and silicone helps enhance this process. However, you can also create cells by adjusting your paint ratios and using techniques like torching. Beginners can start without silicone and experiment with it later.
Q4. Why do my fluid art paintings look muddy?
Muddy colors usually happen when too many colors are mixed together or when incompatible colors are used. For example, combining colors that are opposite on the color wheel (like red and green) can result in dull, brownish tones. Overmixing during pouring or tilting can also blend colors too much. To avoid this, use a limited color palette, choose harmonious colors, and avoid excessive movement after pouring.
Q5. How long does fluid art take to dry and how can I speed it up?
Fluid art typically takes 24 to 72 hours to dry, depending on the thickness of the paint and environmental conditions like humidity and temperature. Thicker pours take longer to dry. To speed up the process, place your artwork in a warm, dry, and dust-free area with good airflow. However, avoid using direct heat sources like hairdryers for drying, as they can crack or distort the paint surface.